How to Sit Baby Up for Newborn Photography
 There's a really tough stage to photograph when it comes to babies. Well, actually at that place's a couple.
The outset is around that three-5 months, where they tin can't really concur their head upwardly at all – stay tuned for tips on that stage.
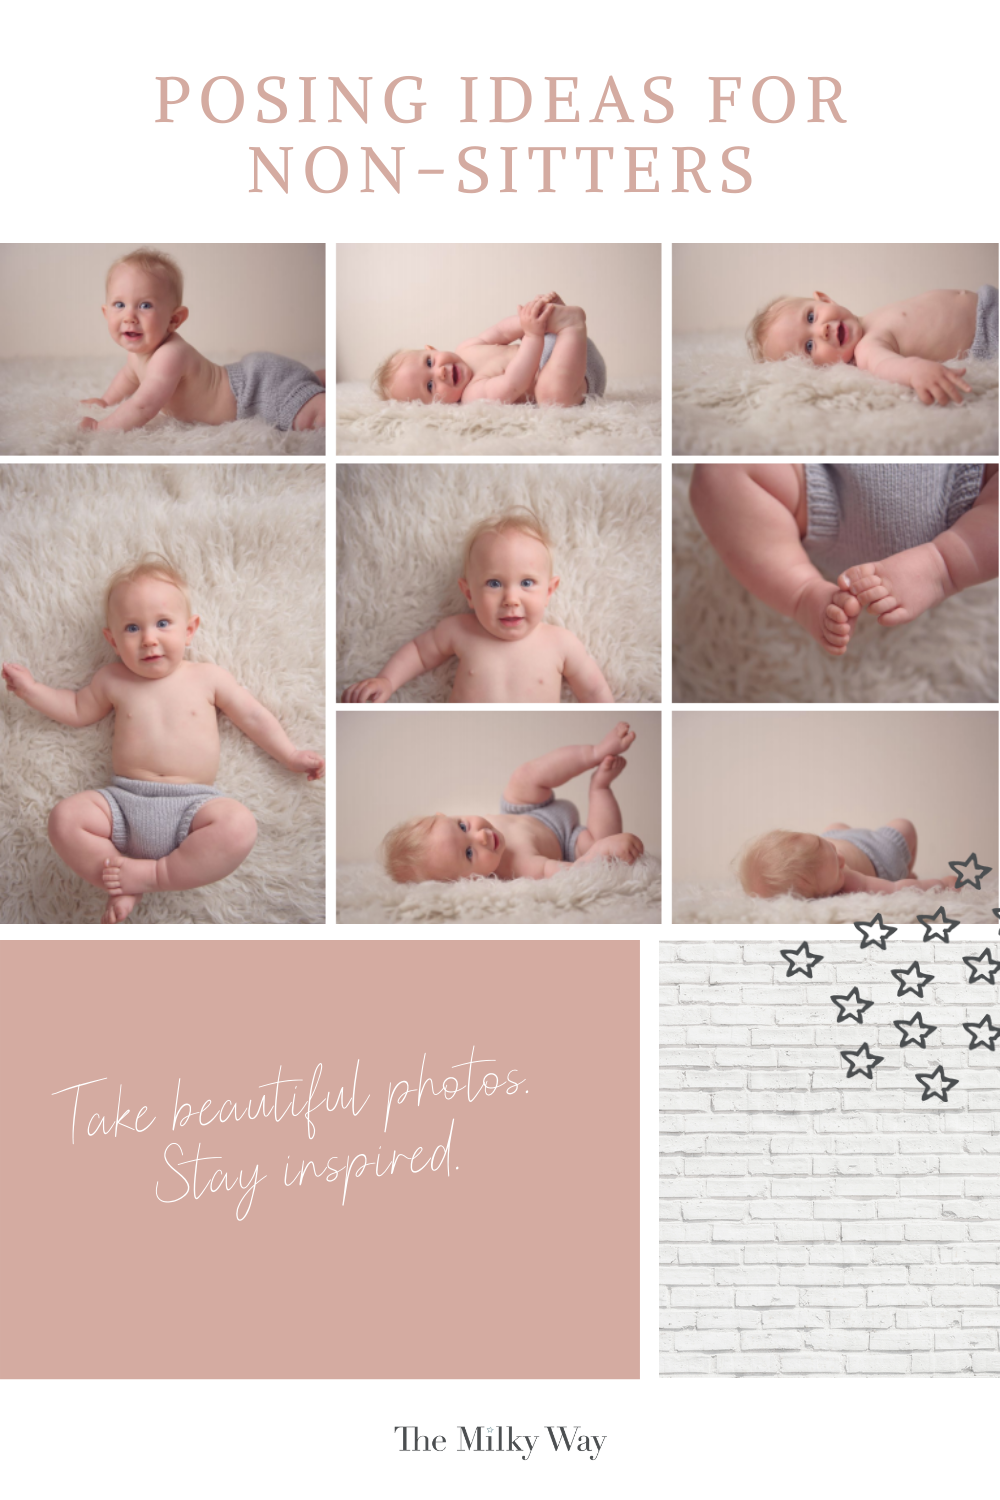
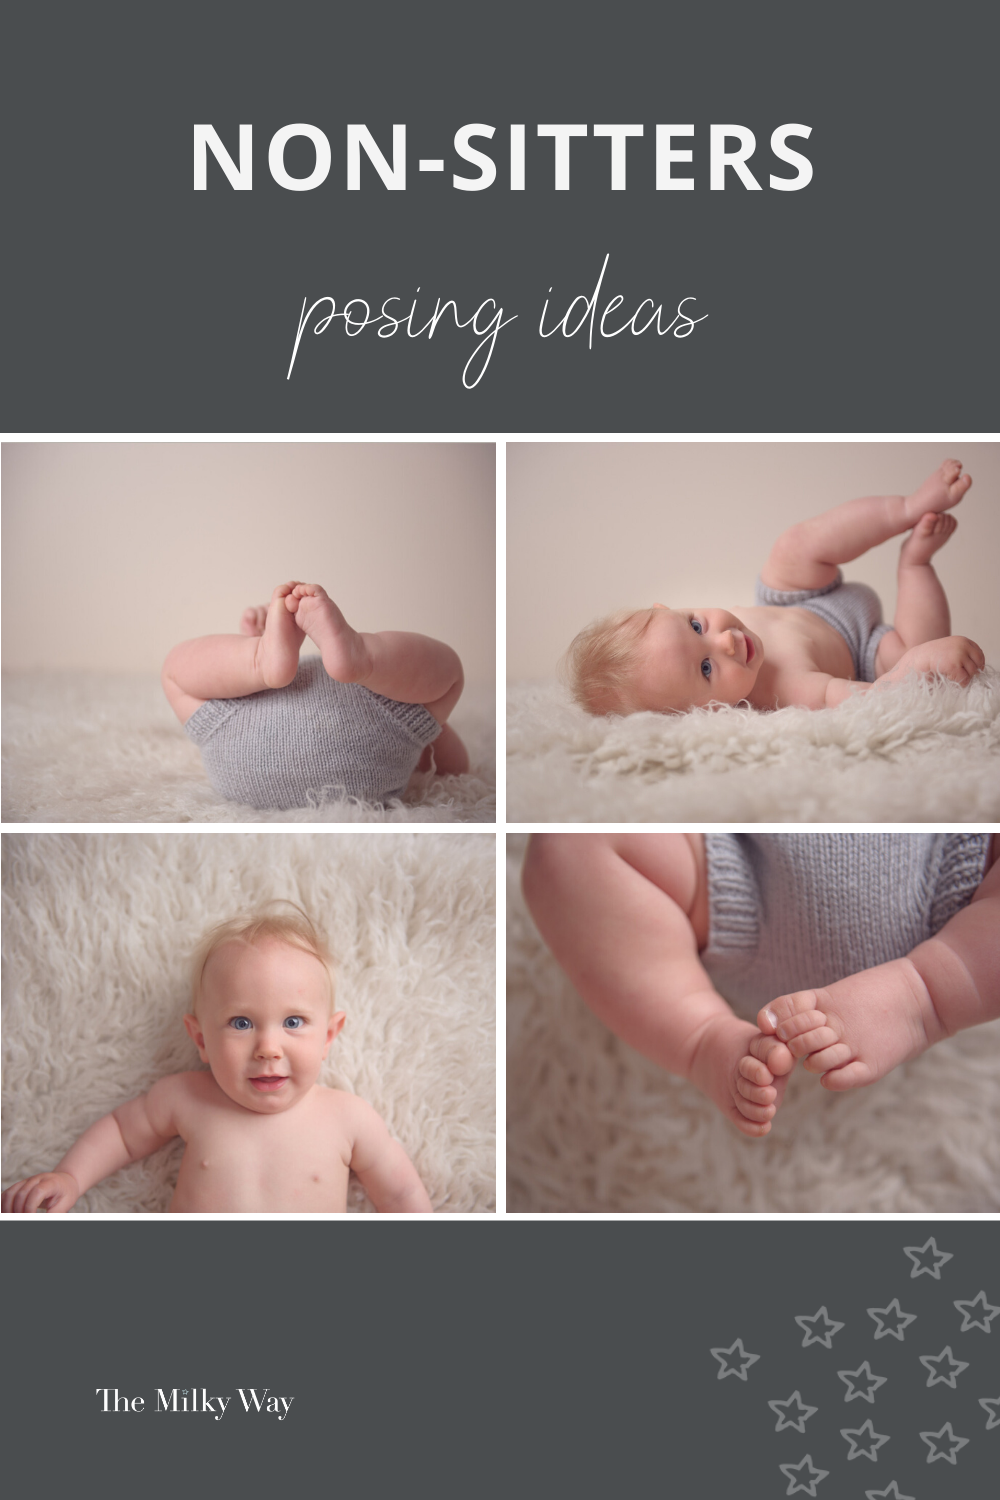
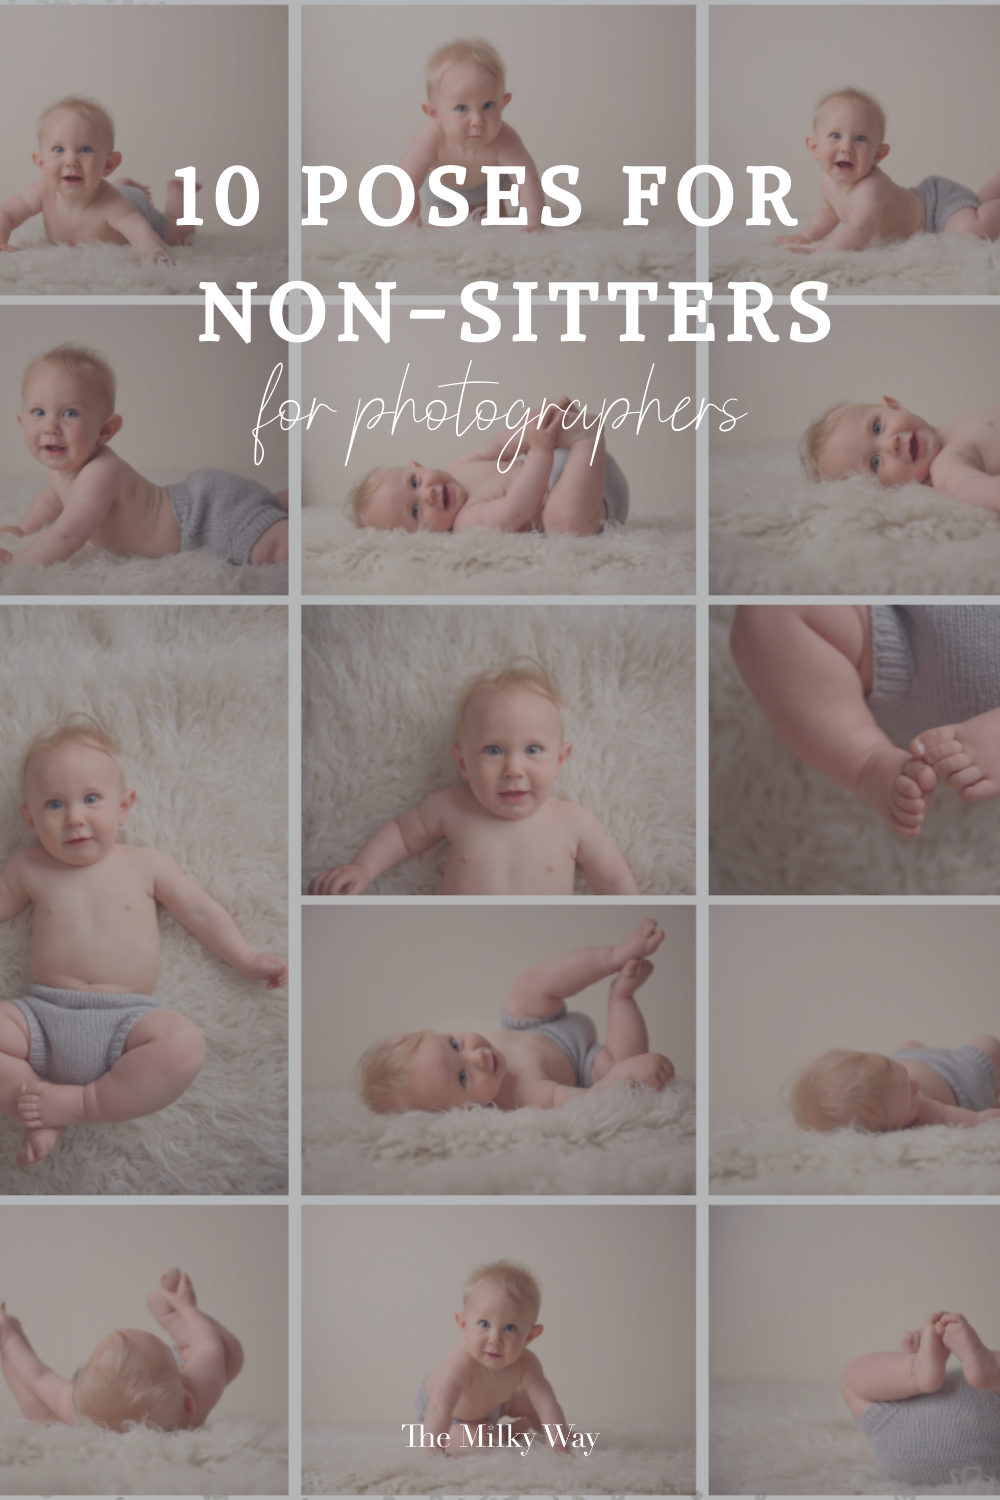
Today, we wanted to give y'all 10 simple poses you tin can utilise for babies who can't *quite* sit yet!(pivot the image to the correct for piece of cake finding after on!)
Now, ages will vary…considering some babies have this mastered around 5-6 months – but for others, it tin be closer to 9 months – which is why I recommend you discuss 'stages' vs 'ages' when it comes to photos in your client's first year!
In these examples, I'm using studio light (at 45 degrees).
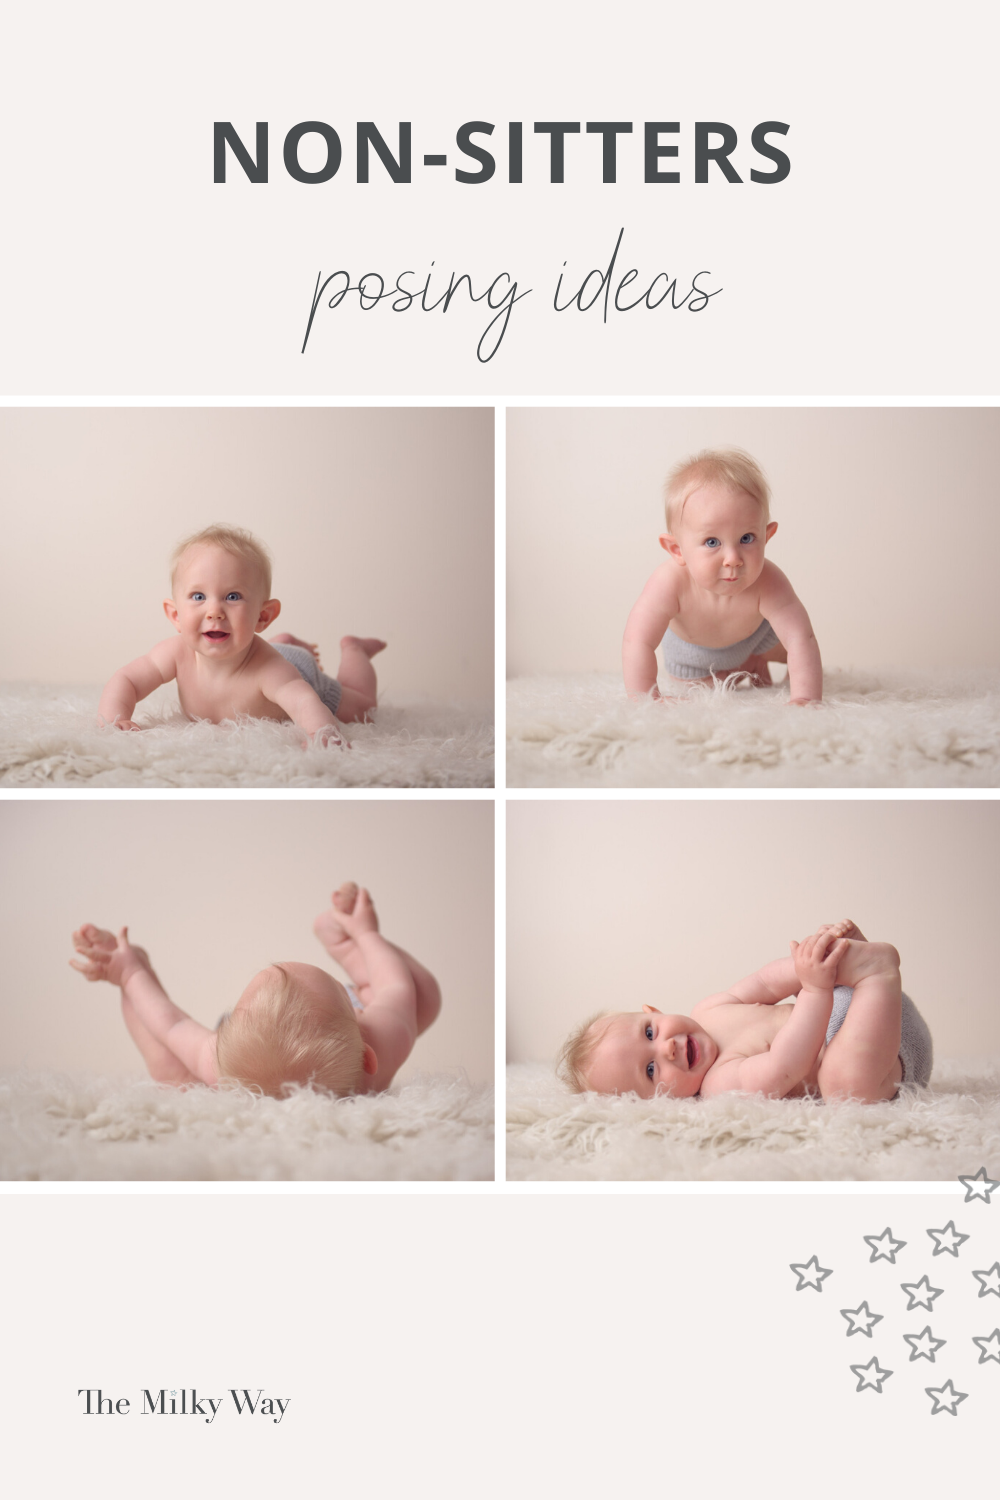
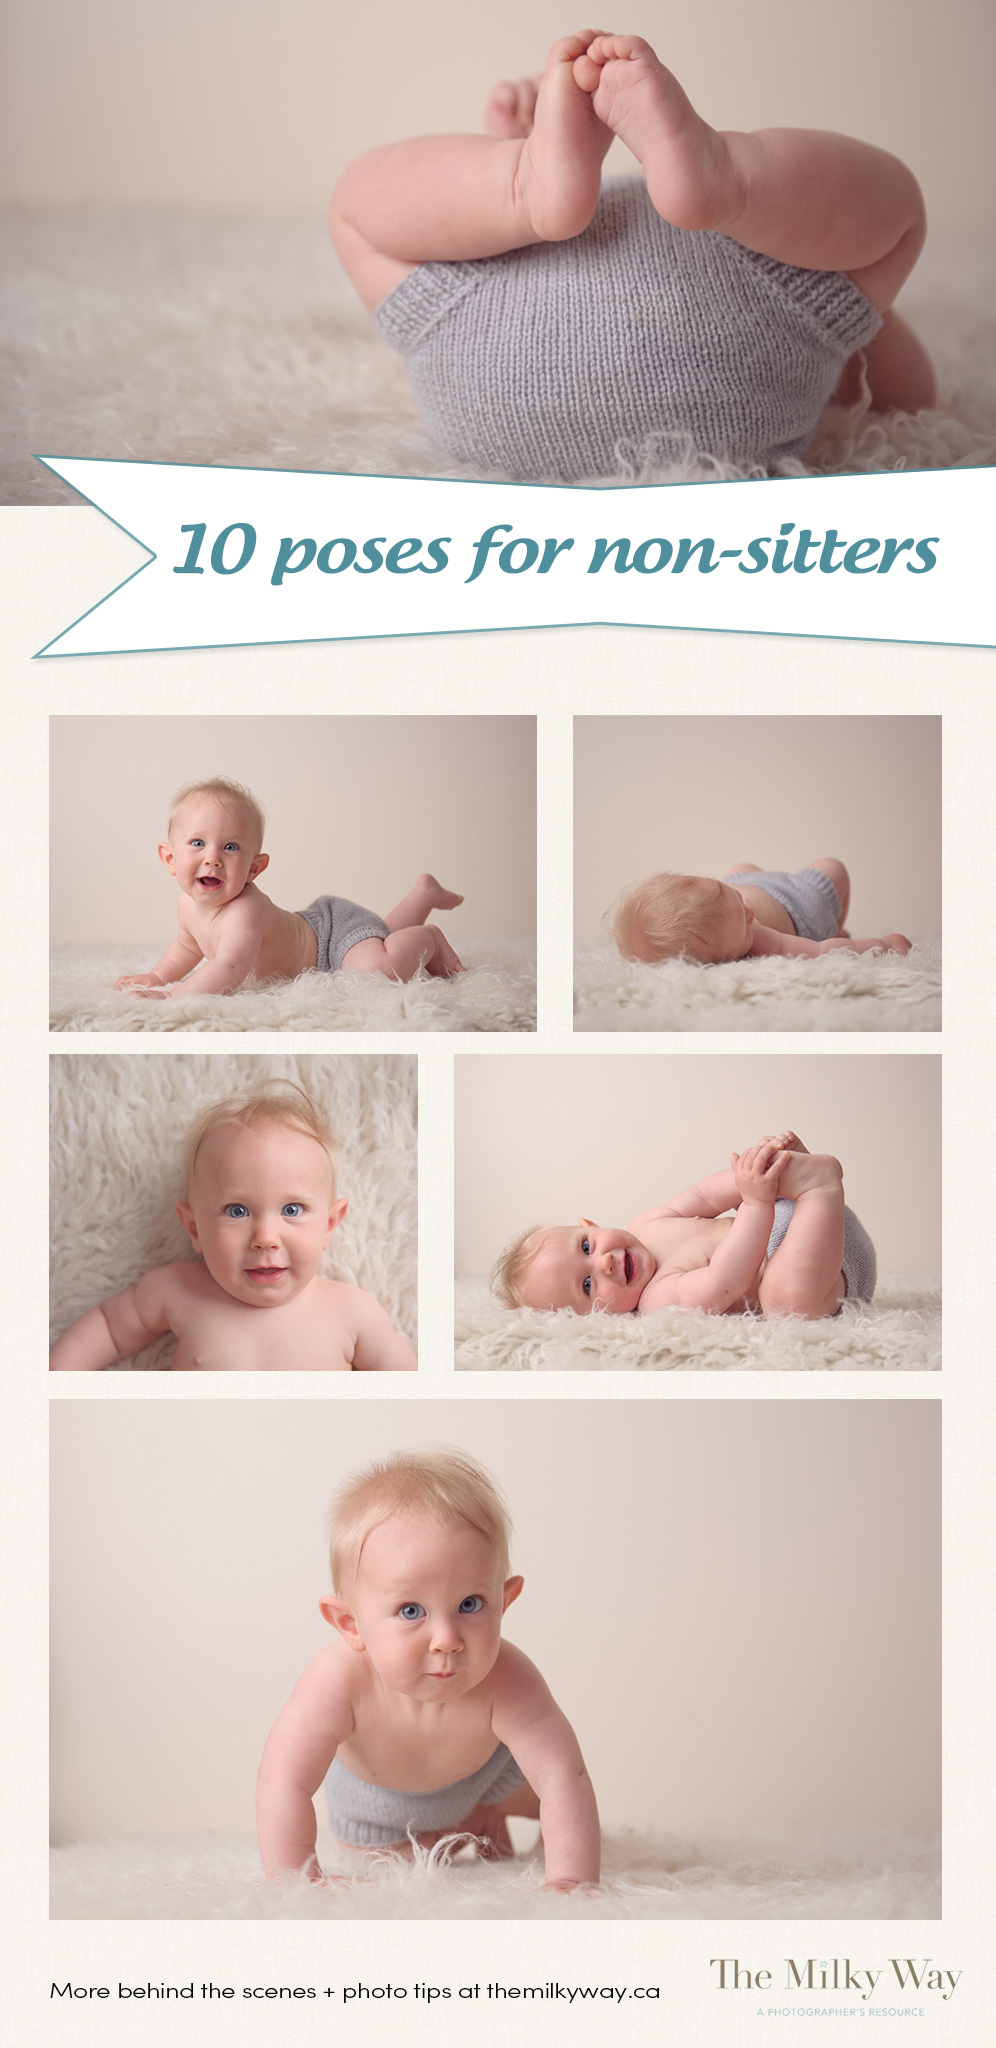
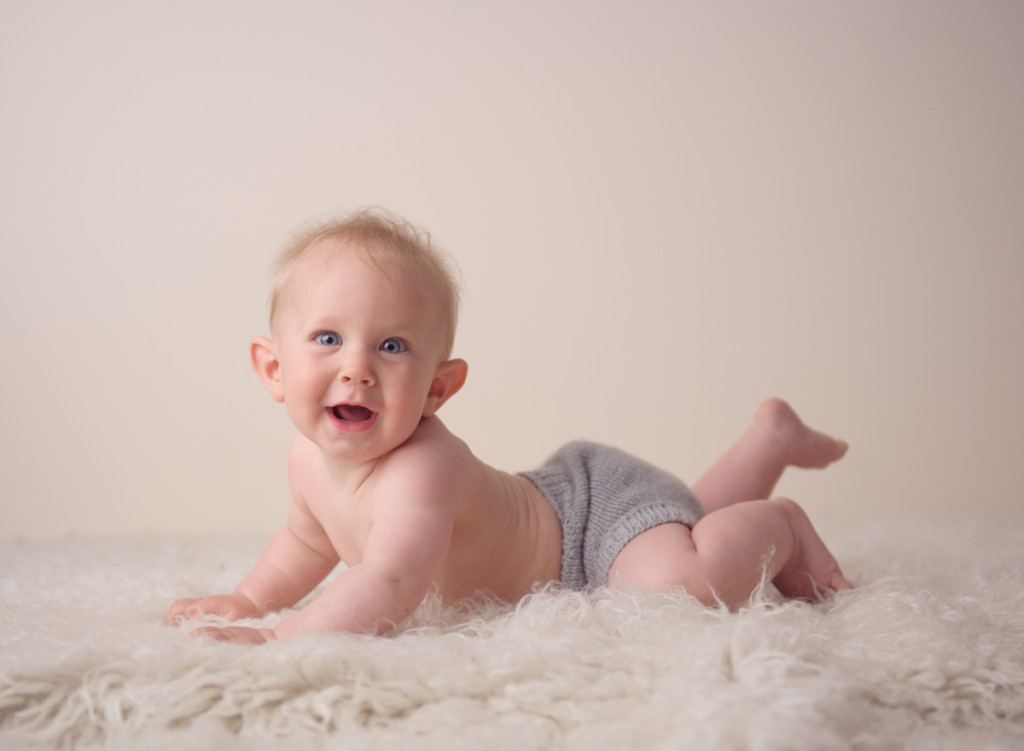
Starting with the baby facing the camera, feet to the back of the backdrop (bending them slightly though, and then you can see the toes!)
Here I'thousand using a wide aperture so the feet are blurred – yous may adopt them in focus, in which case, you a narrower Aperture!)
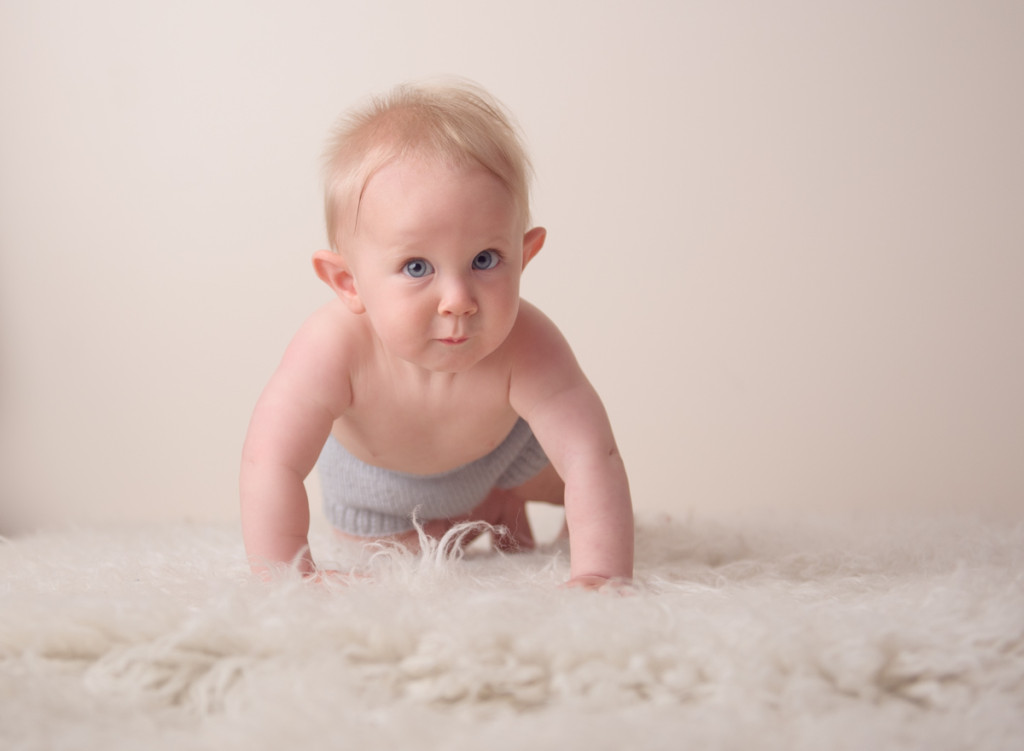
If they can push themselves up to their knees, you can wait until the make that motility and get an boosted pose.
(one affair to note – with flokati rugs, which I've used here, y'all tin can lose their fingers in the fluff – so you tin either 'brush is down' a little to see those tiny fingers, or use a different material for the floor)
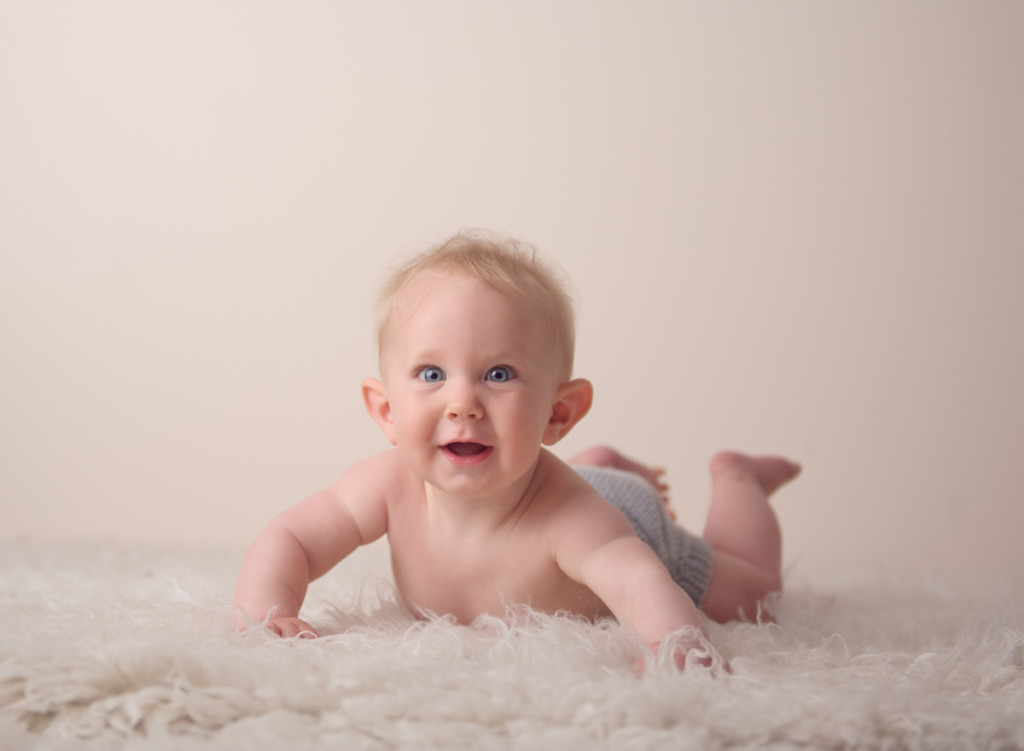
A quick transition hither is to simple turn their torso so they are sideways to the photographic camera (retrieve to put their head towards the lite!)This is a great pose to come across their fiddling back rolls and leg chub if they have it (and elbow dimples!)
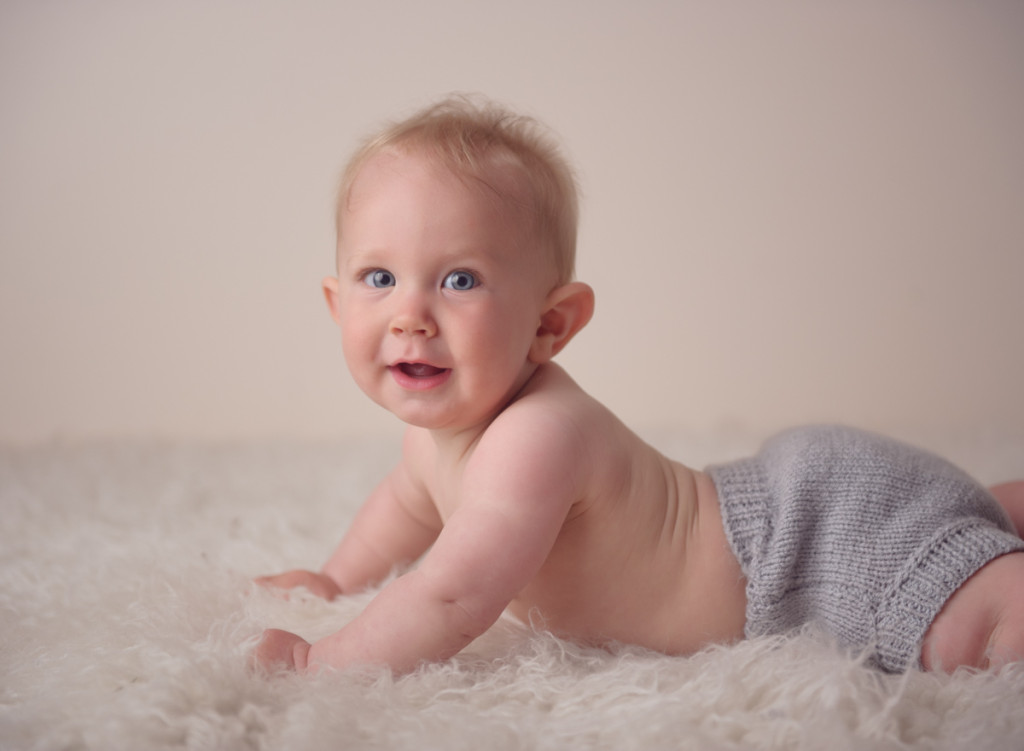
This is the aforementioned pose, I've just moved closer to get a tighter shot. Remember to take different crops and angles when in each pose so yous tin take a diverse gallery (it doesn't mean you need to present your customer with every variation of each pose – only you'll have a expert selection to kickoff!)
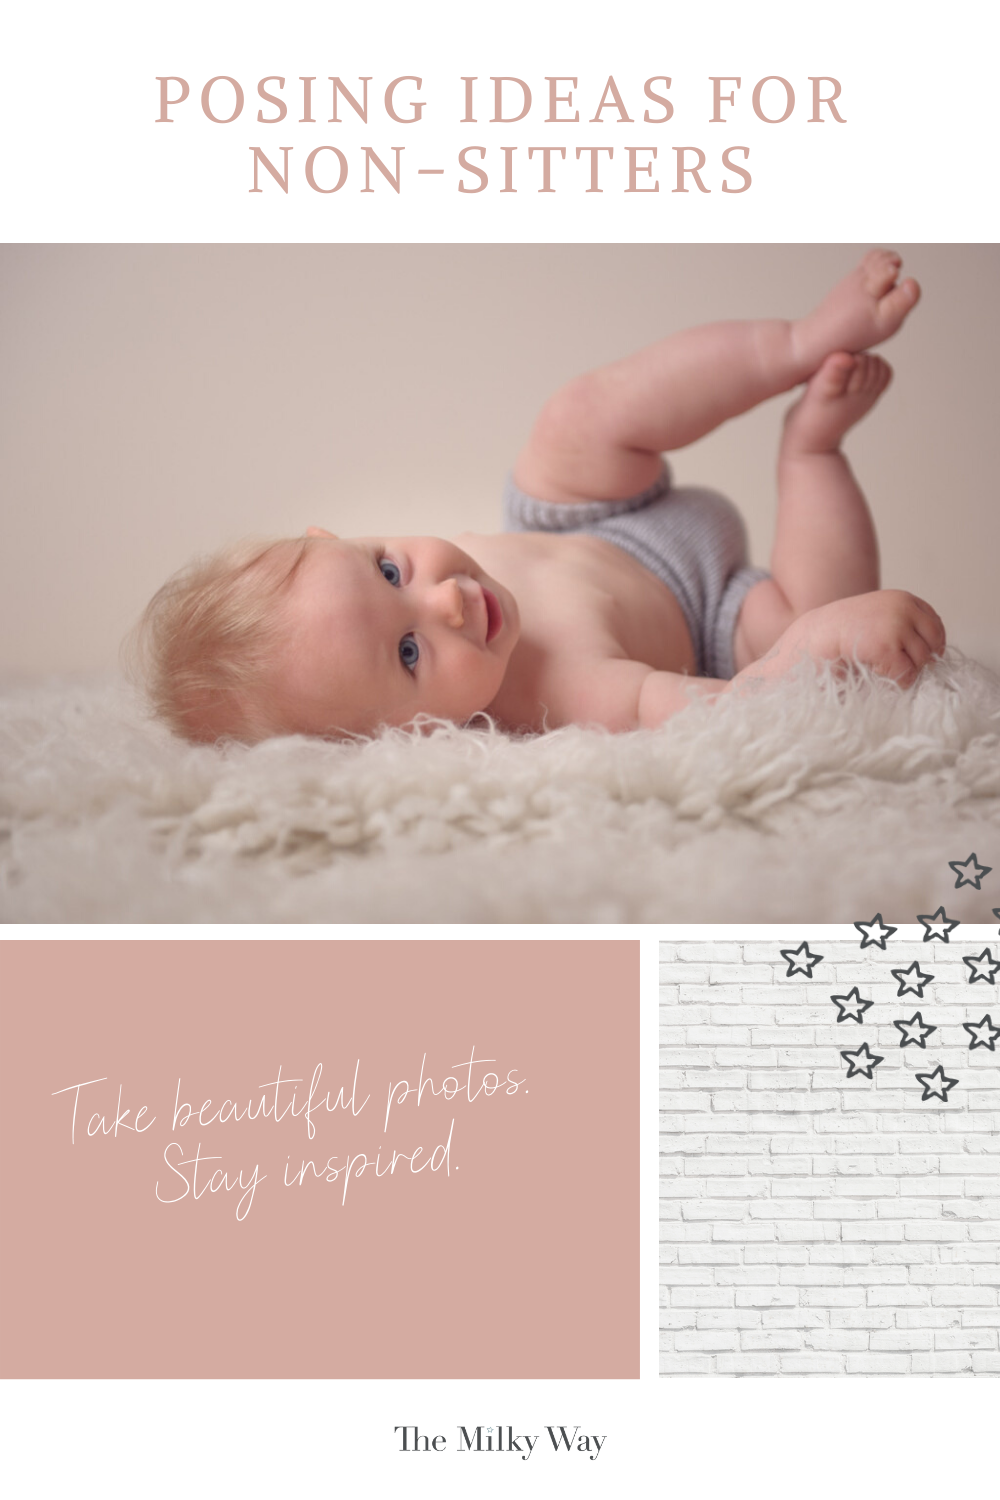
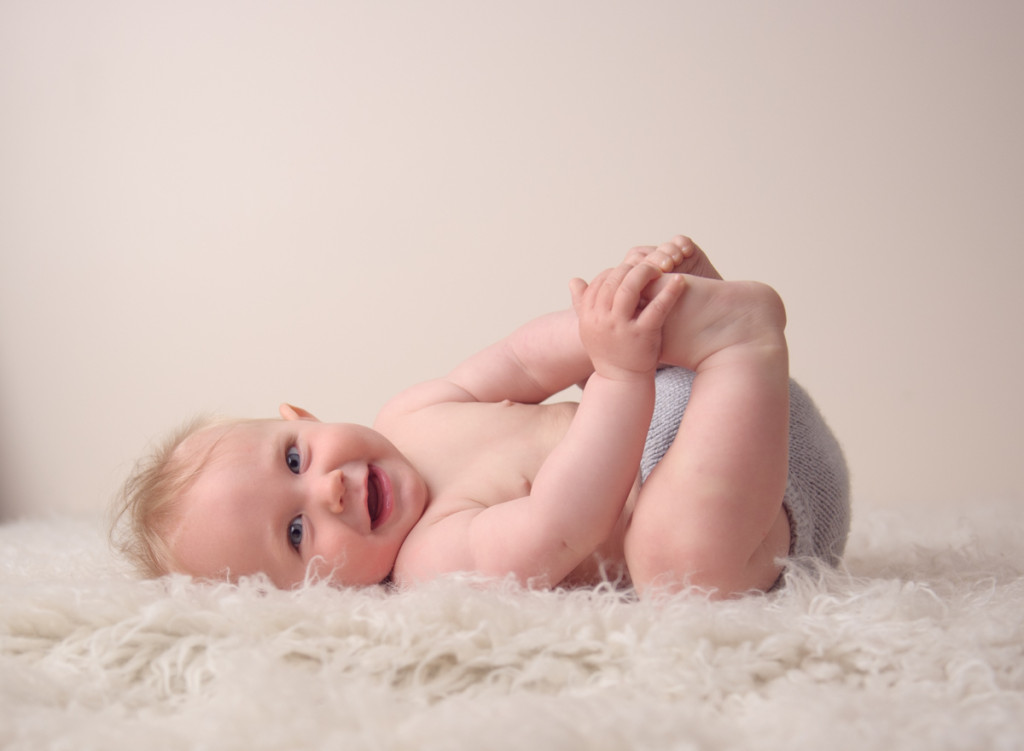
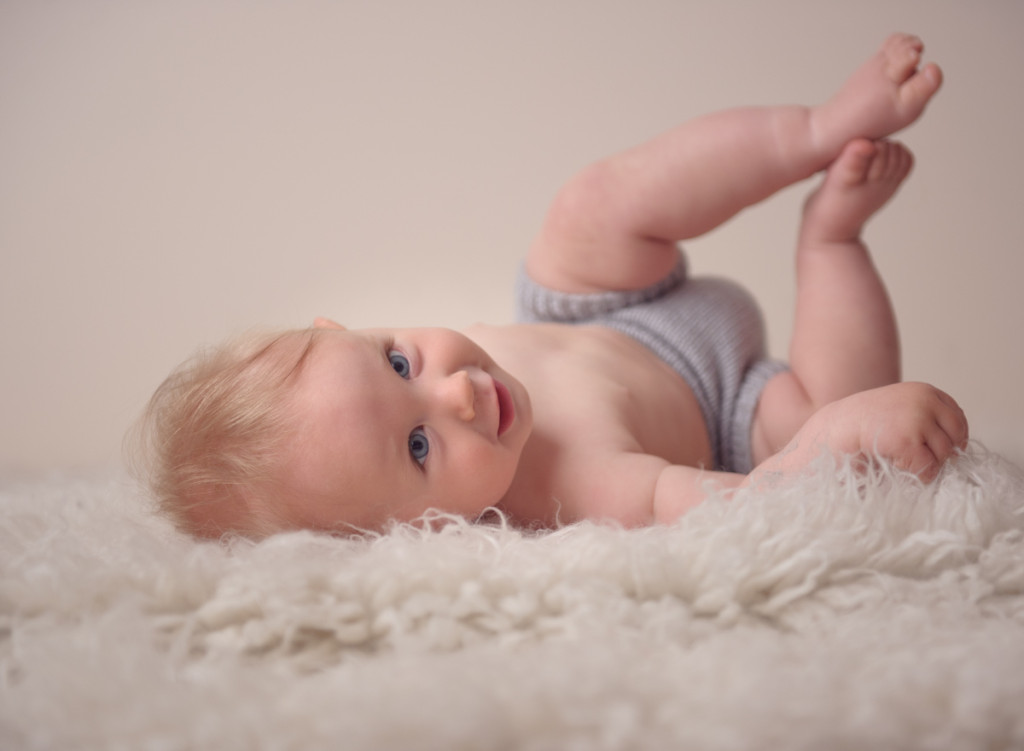
From the pose to a higher place, I will then plow the baby over on to their back (if they are ok with it! You have to but 'curl' with your client…no pun intended!)
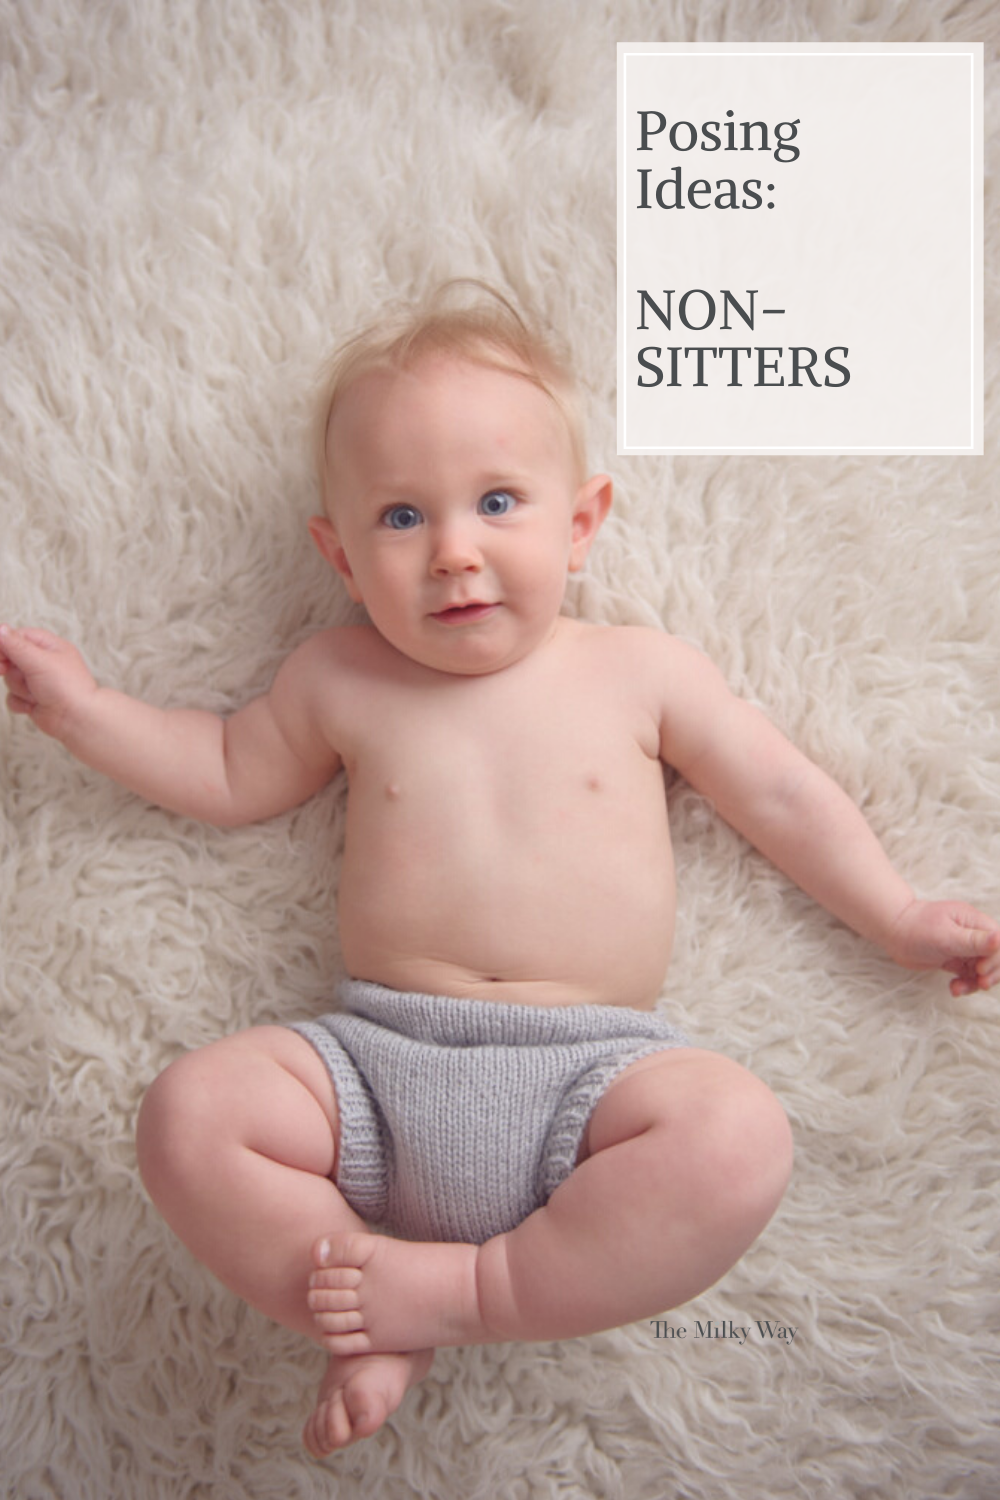
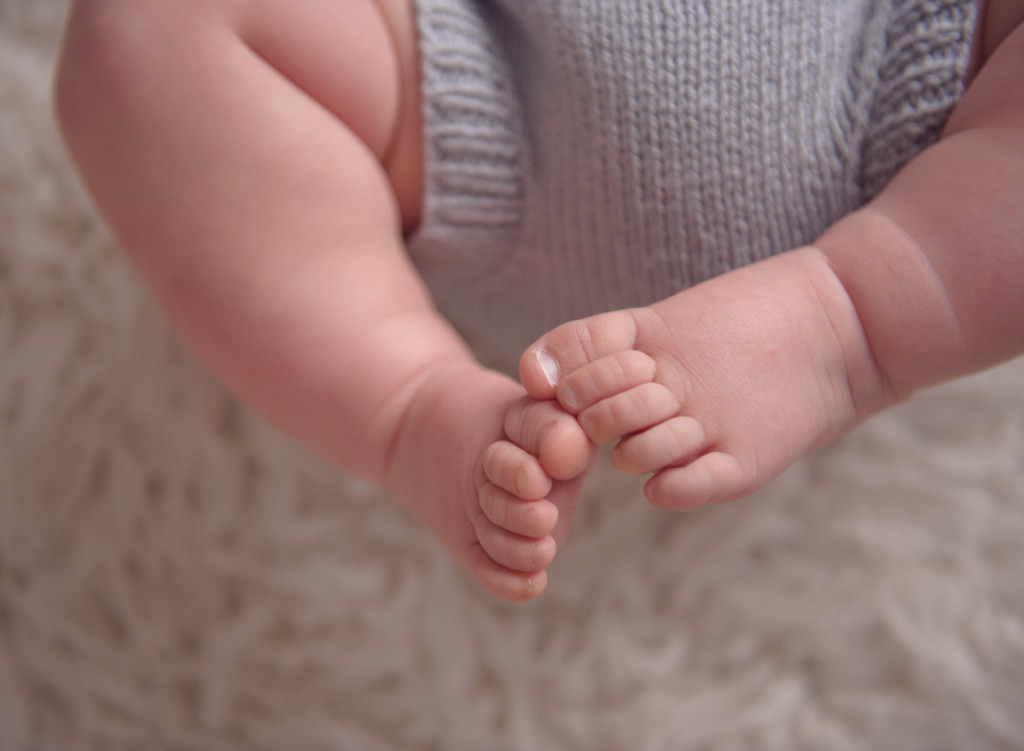
Once again, brand sure the light source is near the top of their caput (and look for the catchlights in their eyes!) At this phase, they often accept 'found their toes' – if needed, inquire mama to assistance them grab them.
For this shot, I wanted to exist sure toes were in focus too – and then you'll run across that I have them on the same focal airplane equally his optics. Another tip to remember – take your photographic camera positioned closer to their caput vs the feet so you aren't 'shooting up' their nose!
Over again, moving in closer for the ingather. He had let go of his anxiety and his hand was in front of his trunk. Yous'll come across that his fingers are no longer in focus because they are outside of my 'depth of focus.'
If y'all desire to have them in focus, either apply a narrower fstop and/or be farther away from your subject to increase your depth of field.
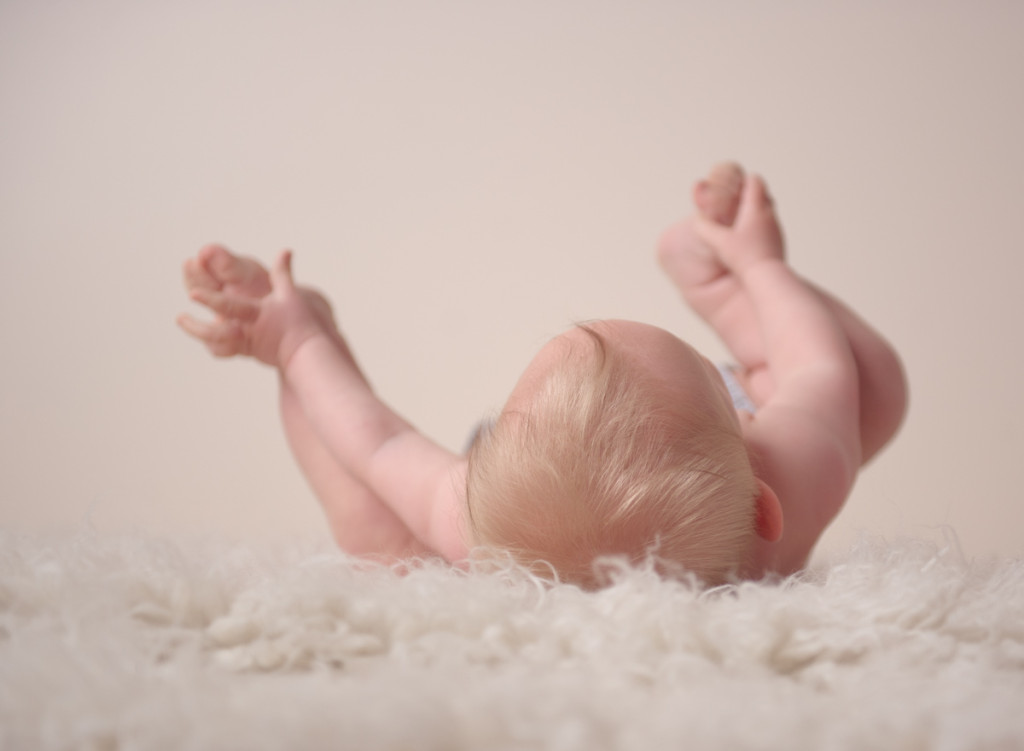
Your model can now stay in the same spot – simply You lot can motion to take an aeriform shot.
**IMPORTANT: Make sure your neck strap is AROUND your neck!! Safety beginning!!**
Once again, endeavour to position yourself so your camera is closer to their head vs anxiety and then y'all aren't shooting 'up the olfactory organ'
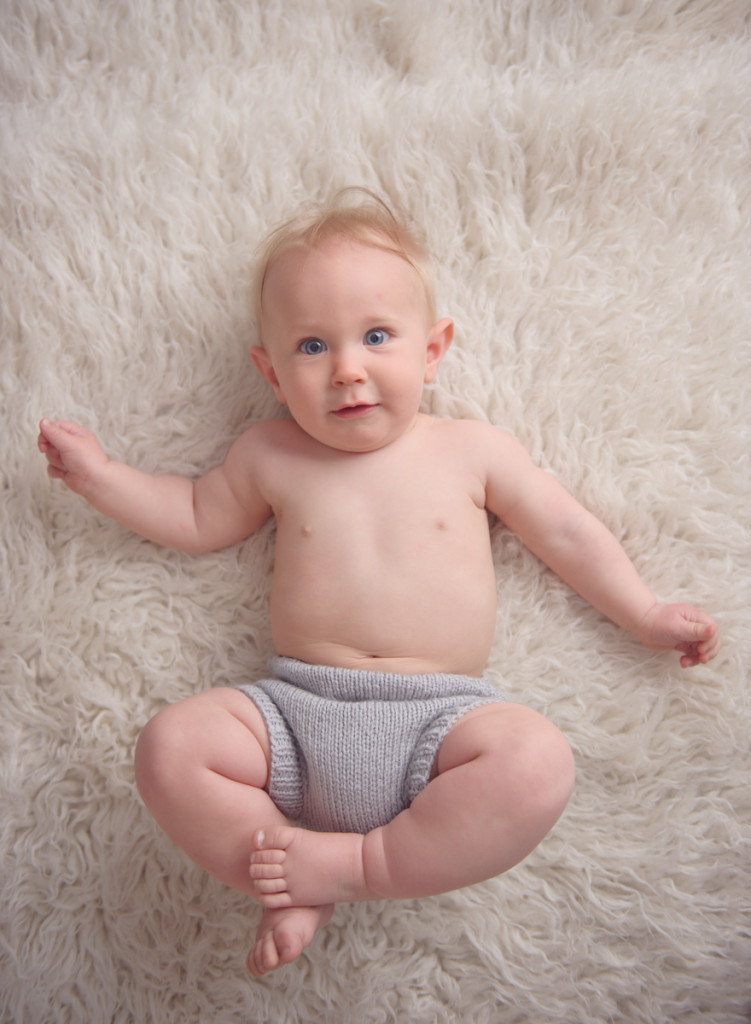
After you get the full-trunk shot (easiest if you have a 35mm or a zoom lens vs trying to utilise your 50mm!), motility in for the close up!(just endeavour non to chop fingers off similar I did here – oops!)
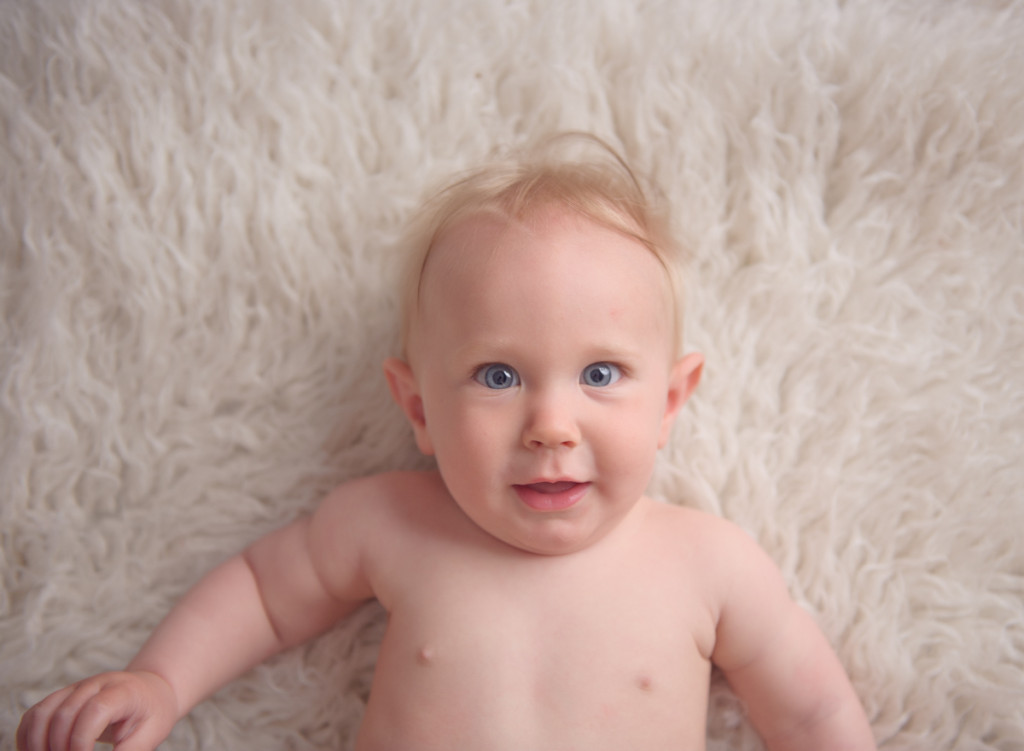
And recall to grab a few shots of the toes too! These are great in albums! (it is also a great shot to snap off if the petty one is unhappy!)
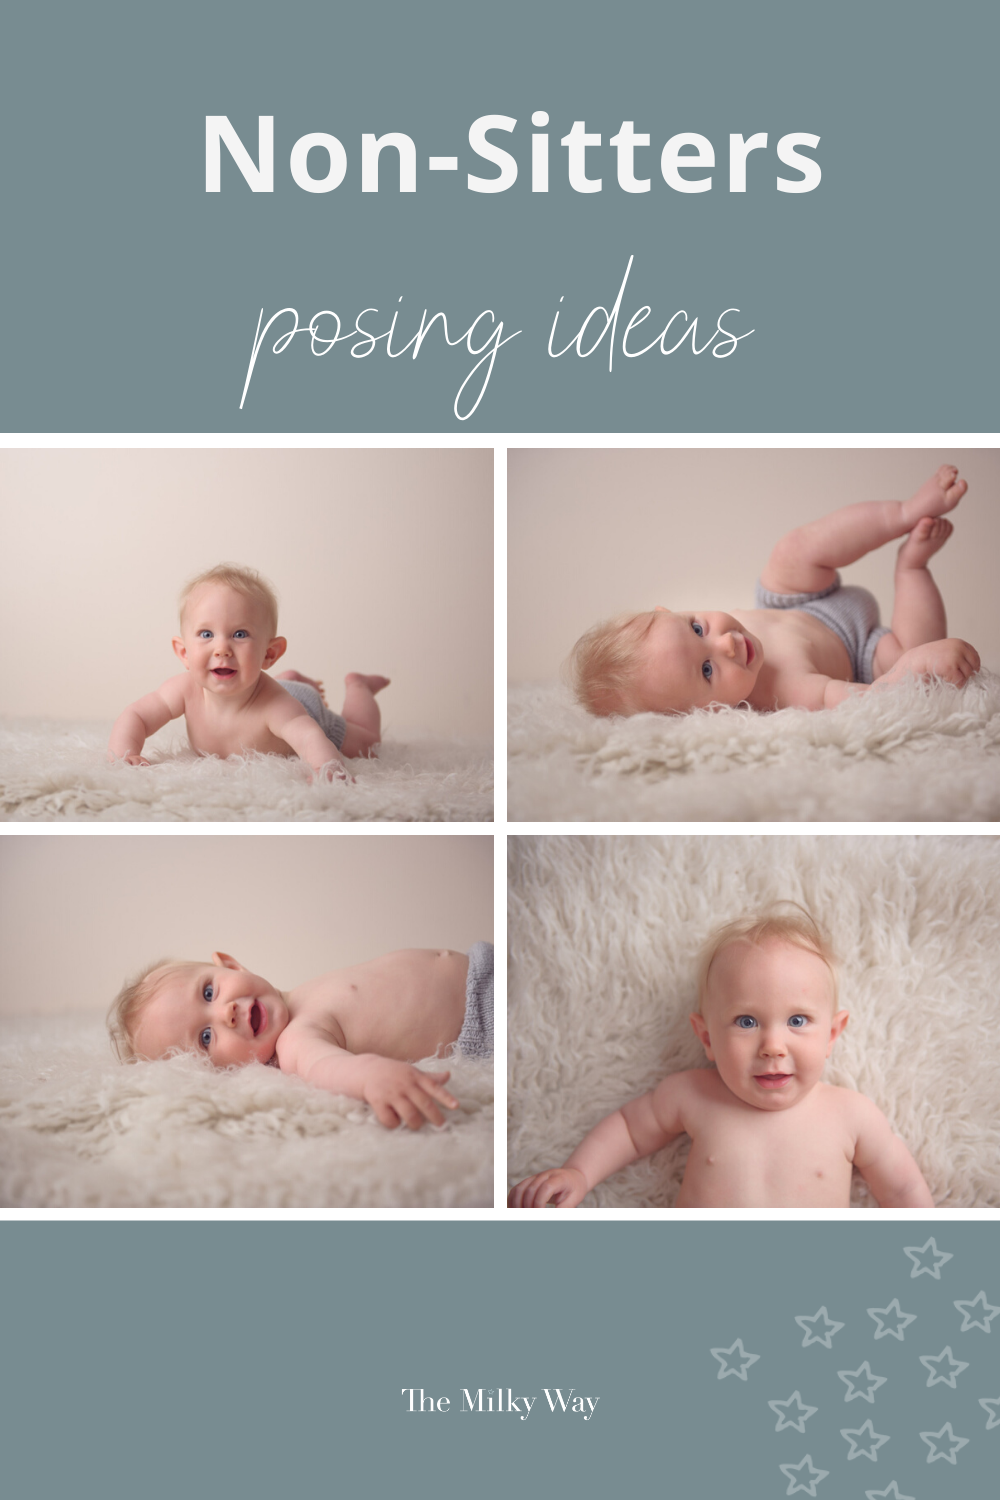
If they are still happy to be rolling around on the floor, keeping them on their backs, I'll now rotate them so their feet are towards the backdrop over again.
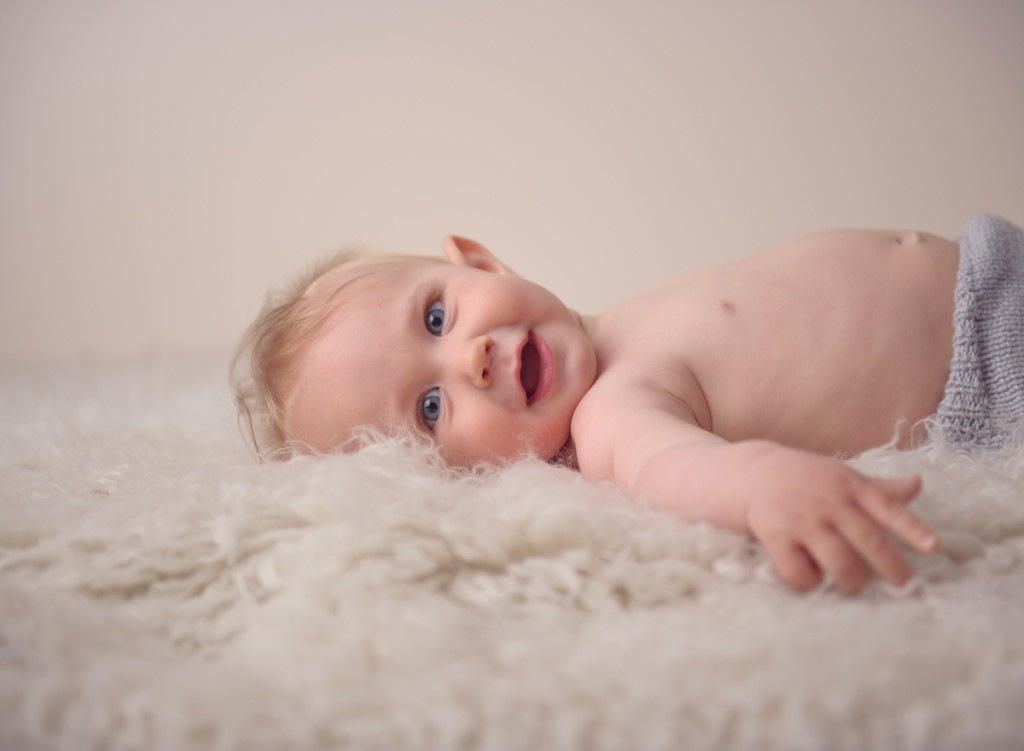
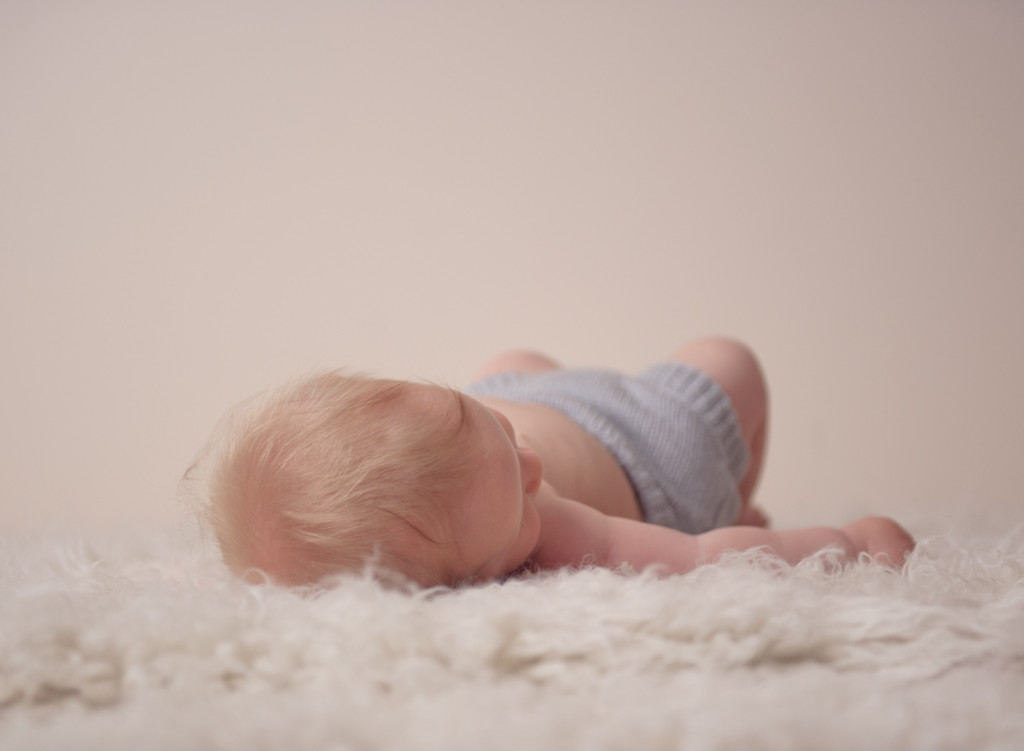
For the shot beneath, I have them on a 45 degree angle (head towards the light), so I can notwithstanding see the little toes.
A quick variation on this one, is to angle the caput so you are seeing the crown of the head/olfactory organ/cheeks vs the full face up. Mamas beloved this shot equally information technology is a view they run into oftentimes of their wee ones sleeping against them or when nursing!
A variation on that is to help them find their toes again! (and rotating them slightly and then they are straight on to the photographic camera). Again, you decide if you desire everything in focus, or have have the feet/hands a scrap blurred (which is my personal preference on these ones!)
Now, spinning them 180 degrees so their toes are closest, I'll snap off a few quick shots of the little toes from this angle)

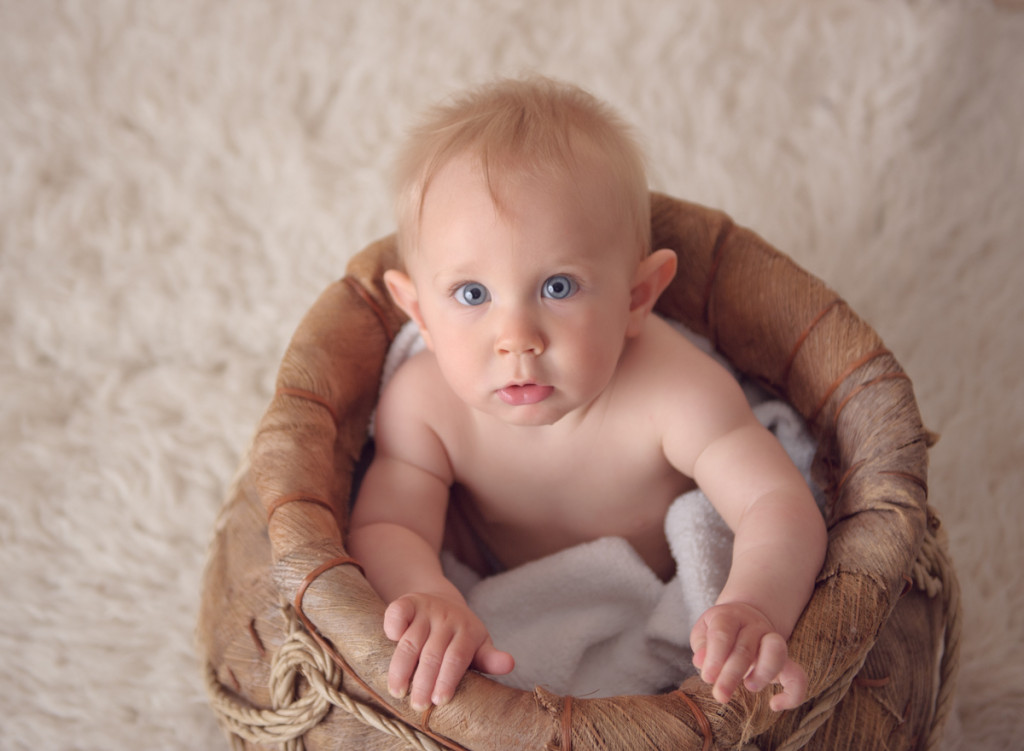
Next, I volition move on to some prop shots. The key with non sitters is to have a prop that is deep enough to support them – you don't want them awkwardly sliding out of a prop.
**Of import** Accept your lookout correct beside them – and if needed, hanging on to part of the prop and edit them out later – OR, stick to tight crops so you lot don't have to do that editing (especially if you have a backdrop that would make it tricky to edit).
It's also a good idea to have some sort of weight on the lesser too to brand it more stable.

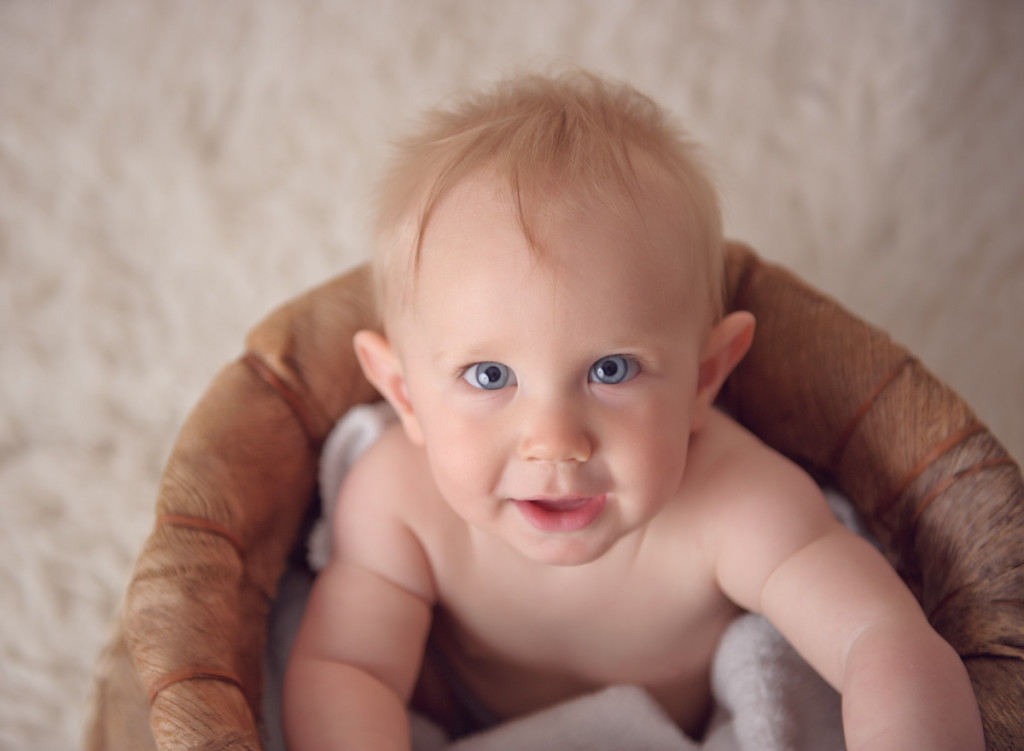
Once in the prop, remember to have diverse angles.
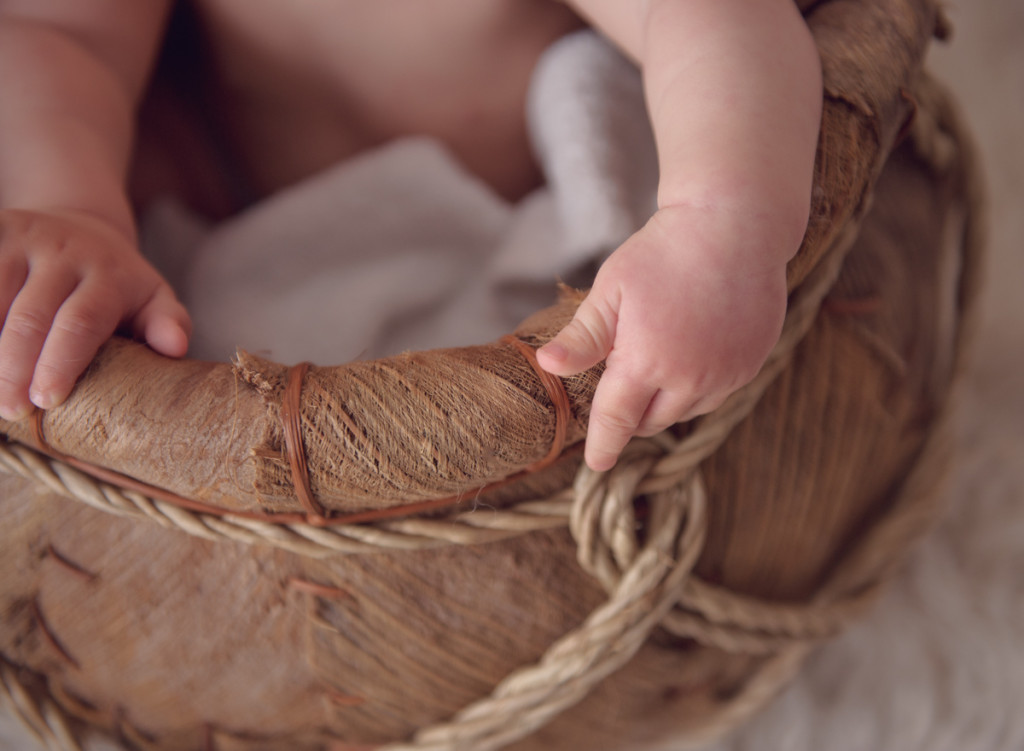
And alter up your crops to get some tighter shots!
I likewise like to get a few shots of fingers here besides (as I usually go the toes on my flooring shots)
Want a costless reference guide to apace review these poses?Click here to get the download

Source: https://themilkyway.ca/10-poses-for-non-sitters/
0 Response to "How to Sit Baby Up for Newborn Photography"
Post a Comment